
5 Easy Steps for Blending in Oils

In this simple study, we practice blending in oils. For any oil painter, knowing how to blend your paints is essential for controlling edges and turning forms. Practice your blending technique by following along with this 5-step tutorial, creating a sky gradient with 4 basic colors. I’ve pre-mixed these colors so that we have a quick, deliberate study to avoid fussing over the process.
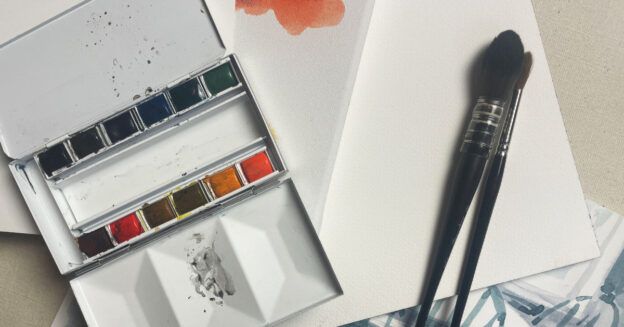
Artist’s Toolkit
✓
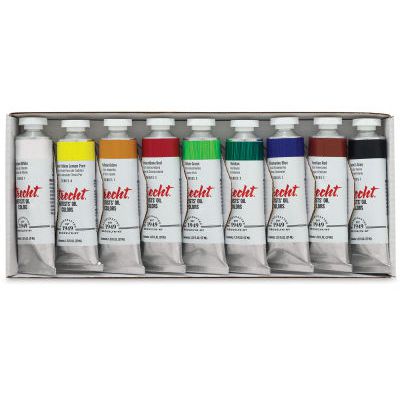
OIL PAINTS: titanium white, yellow ochre, phthalo blue, quinacridone magenta, Payne’s gray
✓
SURFACE: 12″ x 12″ Primed wood panel
✓
BRUSHES: #4 Filbert, #12 Mop, Makeup Brush
✓
ADDITIONAL: Odorless Solvent and Paper Towels
Need Supplies? Buy Them Here!
Utrecht Oils
Oil Brushes

Odorless Thinner

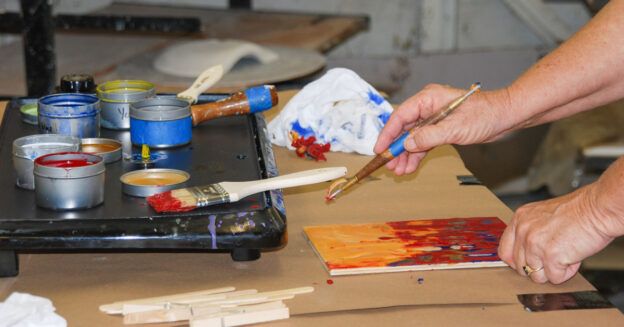
Blending Demonstration
Step 1
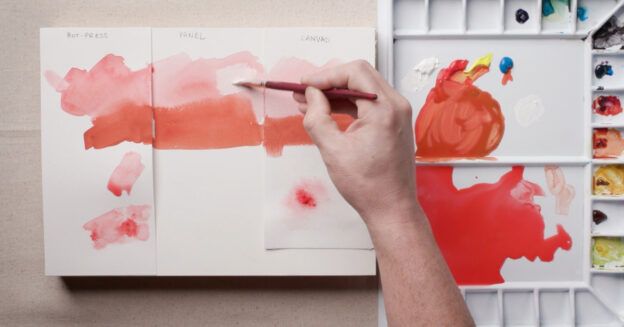
Using the #4 Filbert, I lay in bands of colors, leaving small gaps between each band. To each color, I’ve added a minimum amount of solvent to cover the width of the panel fluidly.
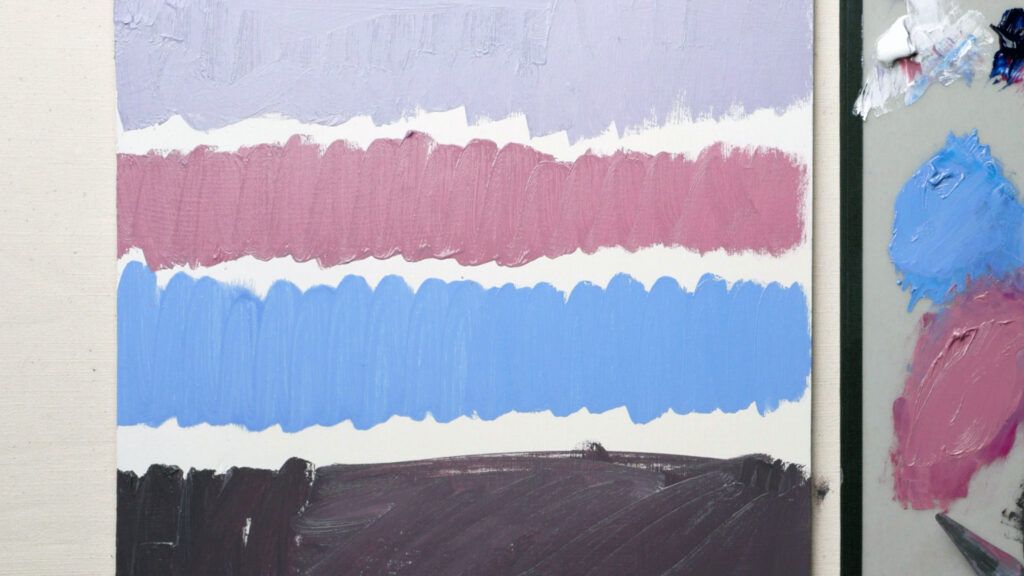
Step 2
With a paper towel, wipe the gap between the bands of color. This removes any excess oil that has built up in those areas and starts to soften the transition between the colors.

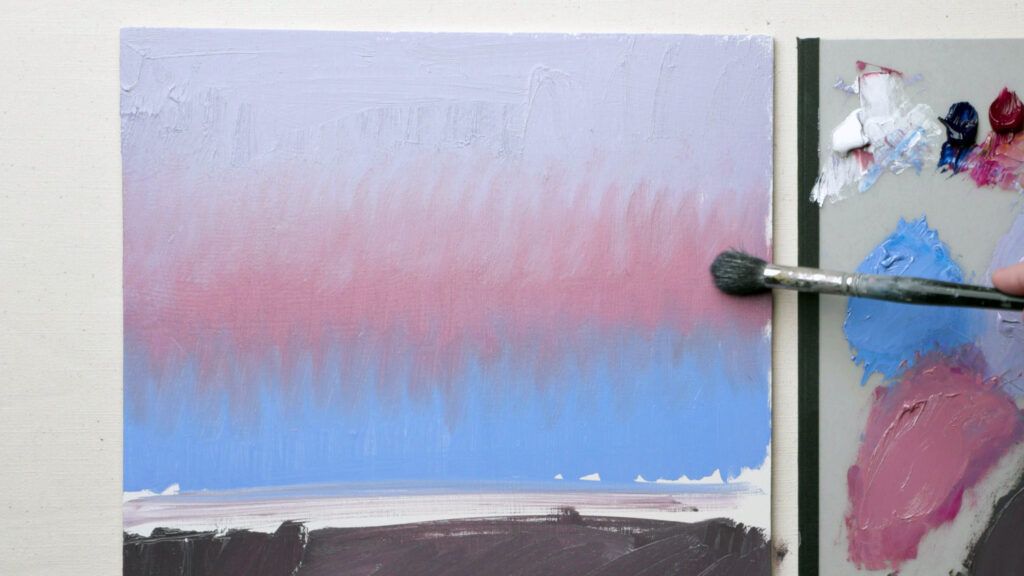
Step 3
With the filbert brush, use short, vertical marks to bridge the gap between the colors in the sky area. I’ve wiped the brush dry before this step and take several passes, adjusting the length and angle of the marks to smooth the transition.

Step 4
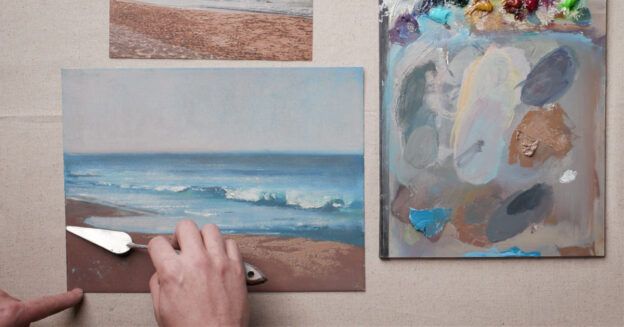
Switch to the mop brush for step 4, using gentile marks to soften the transition between colors further. Throughout this step, use a paper towel or rag to remove paint that has built up on the brush.
Step 5
Finish blending with a makeup brush to soften the transition further. The study is completed using the filbert brush to bring the ground plane up to meet the sky with a sharp edge.
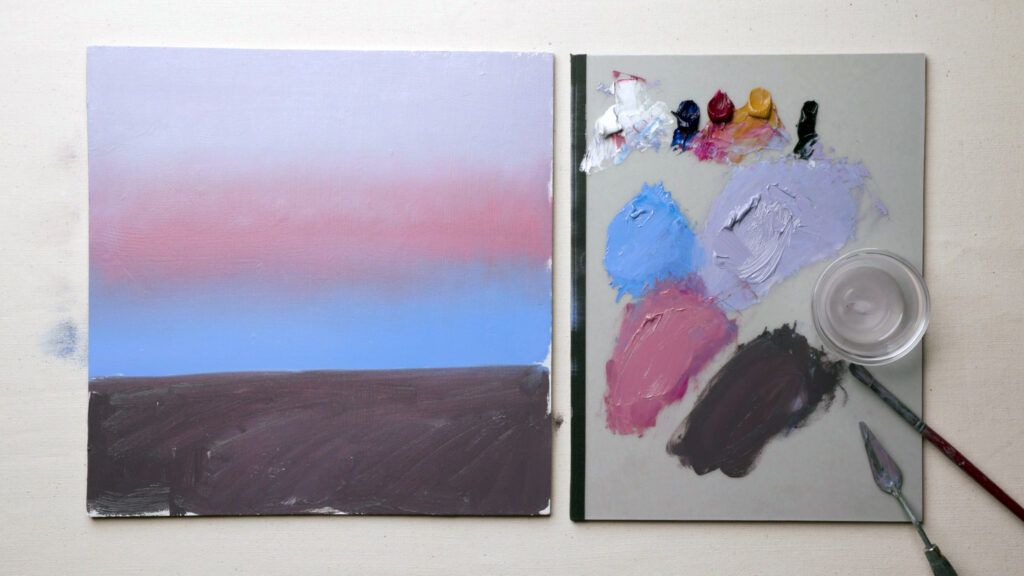
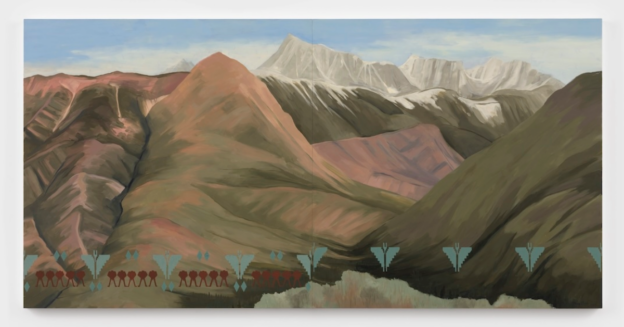
Completing a simple study like this is a great way to improve your technique for blending in oils. The objective was to work quickly and confidently and avoid fussing over the process. I can see in the results that the gradation is not perfect, but that’s part of the learning process! I’ll try this exercise repeatedly to gradually improve my technique and trust that over time, I’ll achieve greater control and confidence!
This article contains affiliate links that help us earn a small commission from purchases — at no additional cost to you. We are grateful for your support.

Meet the Artist
Scott Maier is an artist and a content contributor to artistsnetwork.com. He’s also the author of the instructional art book, See, Think, Draw: An Easy Guide for Realistic Drawing and Beyond.


Join the Conversation!